Taking pictures underwater is really cool. It can also be very disappointing, returning from a dive with what you think are award winning shots, only to find everything is out of focus, the colours are all wrong, or everything is blurry. So, what are the basic tips?
Photo or video? – this article is based on photography, not videography. However, video is often the best place to start as it can be more forgiving (at least for beginners to get useable results). It is much more automatic, set and forget. You also have the huge benefit of being able to take still frame grabs from video, and getting photos that are perfectly adequate to send to friends and family, or post on social media, or just keep as mementos of the dive.
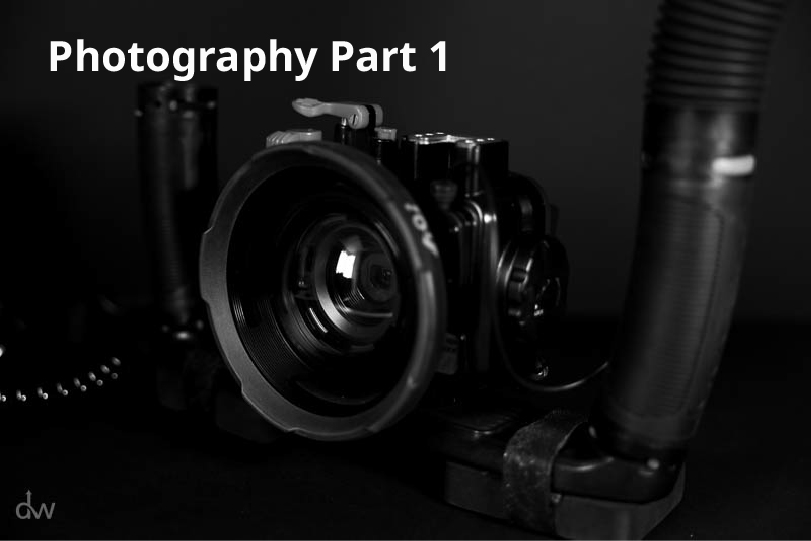
Camera – First things first, you don’t have to have the fanciest camera rig in the world to take lovely photos underwater. And most importantly, take whatever camera you have available. As with most things, as your expectations (and skills) increase, you will be better placed to take advantage of more specialised equipment. Having said this, an iPhone or GoPro can still produce lovely results, if you use it in the right way. There is no point expecting your GoPro, for example, without any add ons, to get a stunning macro picture of a tiny nudibranch, as it simply wasn’t built for that.
Light – the most important thing. If the lighting is awesome, you can randomly point and shoot, and you might get lucky. It’s happened before! But it is something to consider, especially as you first delve into underwater photography. If you don’t take any artificial light down with you, you will be very restricted to dealing with what the weather gods give you on the day. Crystal clear vis at 3m? No problems at all. Murky vis on a cloudy day? It’s going to be tricky to get a lot of great shots under these conditions.
Subject – GoPros and iPhones are generally made for traditional wide angle type photography. This isn’t set in stone, and various accessories can change it. But it is worth remembering when determining your subject. Want some shots of your buddy and the general diving environment? Perfect. Trying to capture that same nudibranch mentioned above? This is where things start to get more difficult.
Buoyancy – It’s difficult to take good photos with poor buoyancy. Generally, you need to be still to take a good photo, so nailing your buoyancy is critical. You also want to make sure, as at all times when diving, that your first priority is to protect the environment that you are in. There is no excuse for damaging coral, or disturbing marine creatures, just to get a photo. And don’t even get me started on those divers who touch and move animals and plants to get a photo. Just no!
The above is just general advice based on my experience. Of course there are exceptions to every rule, so please don’t think that everything I’ve said is sacrosanct. However, if you think about some of the things above, you will increase your keeper rate, and have a better chance of getting that photo you can’t wait to show your friends.
This article turned out to be a lot longer than I thought it would, so I’m going to split it into two parts, and will publish that shortly. To summarise, take whatever camera you have and go and practice. Just keep in mind a few of the things above so that you don’t come back and consign underwater photography to the “too difficult” pile.
If you need a bit more guidance, it’s a great idea to get your first introduction from your PADI Pro, so be sure to check out the Digital Underwater Photography specialty course, where you get to put all of the above into practice.
Let me know how you get on in the comments below.